Wildlife photography on safari is one of the most exciting and fulfilling experiences for any photographer. But taking a good photograph is not simply about capturing a particular species; it’s about telling the story of a subject through light and composition. In this blog, I’ll share tips that will help you to elevate your photography from capturing mere “ID photos” for your checklist to visual treasures of your wildlife adventure.
In wildlife photography, the spotlight is always on wildlife. A wildlife photograph captures the essence of a particular species, whether it’s a male Lion or a Francolin. The subject is the photo’s heart and everything else revolves around it. From technical decisions to creative ones, every aspect of photography aims to highlight the subject. Patience is critical when it comes to wildlife photography – waiting for the perfect light and conditions to capture the essence of an animal.
Photography is light. Each photo needs light and every good image needs good light. Spectacular lighting conditions can make even a simple subject impressive, while a fantastic subject in bad light is unusable. Golden light is the best time – the hours leading to and after sunset and just after sunrise – when shadows are soft, and colours render beautifully.
Foggy and stormy conditions also produce attractive lighting, simplifying the scene before you and bathing the world in gentle, cool light. As a wildlife photographer, you must seek the best light for your subject.
The quality of light depends upon the conditions you encounter, and it isn’t always something you can control. So be aware of the light and try to situate yourself so that the ambient (existing) light is at your back or shoulder.
Composition is the arrangement of elements within the frame and it’s the most challenging aspect of photography. There are many guidelines – and many rules – to help you compose an image but ultimately it is about finding the arrangement of elements that is visually pleasing.
Here are some tips:
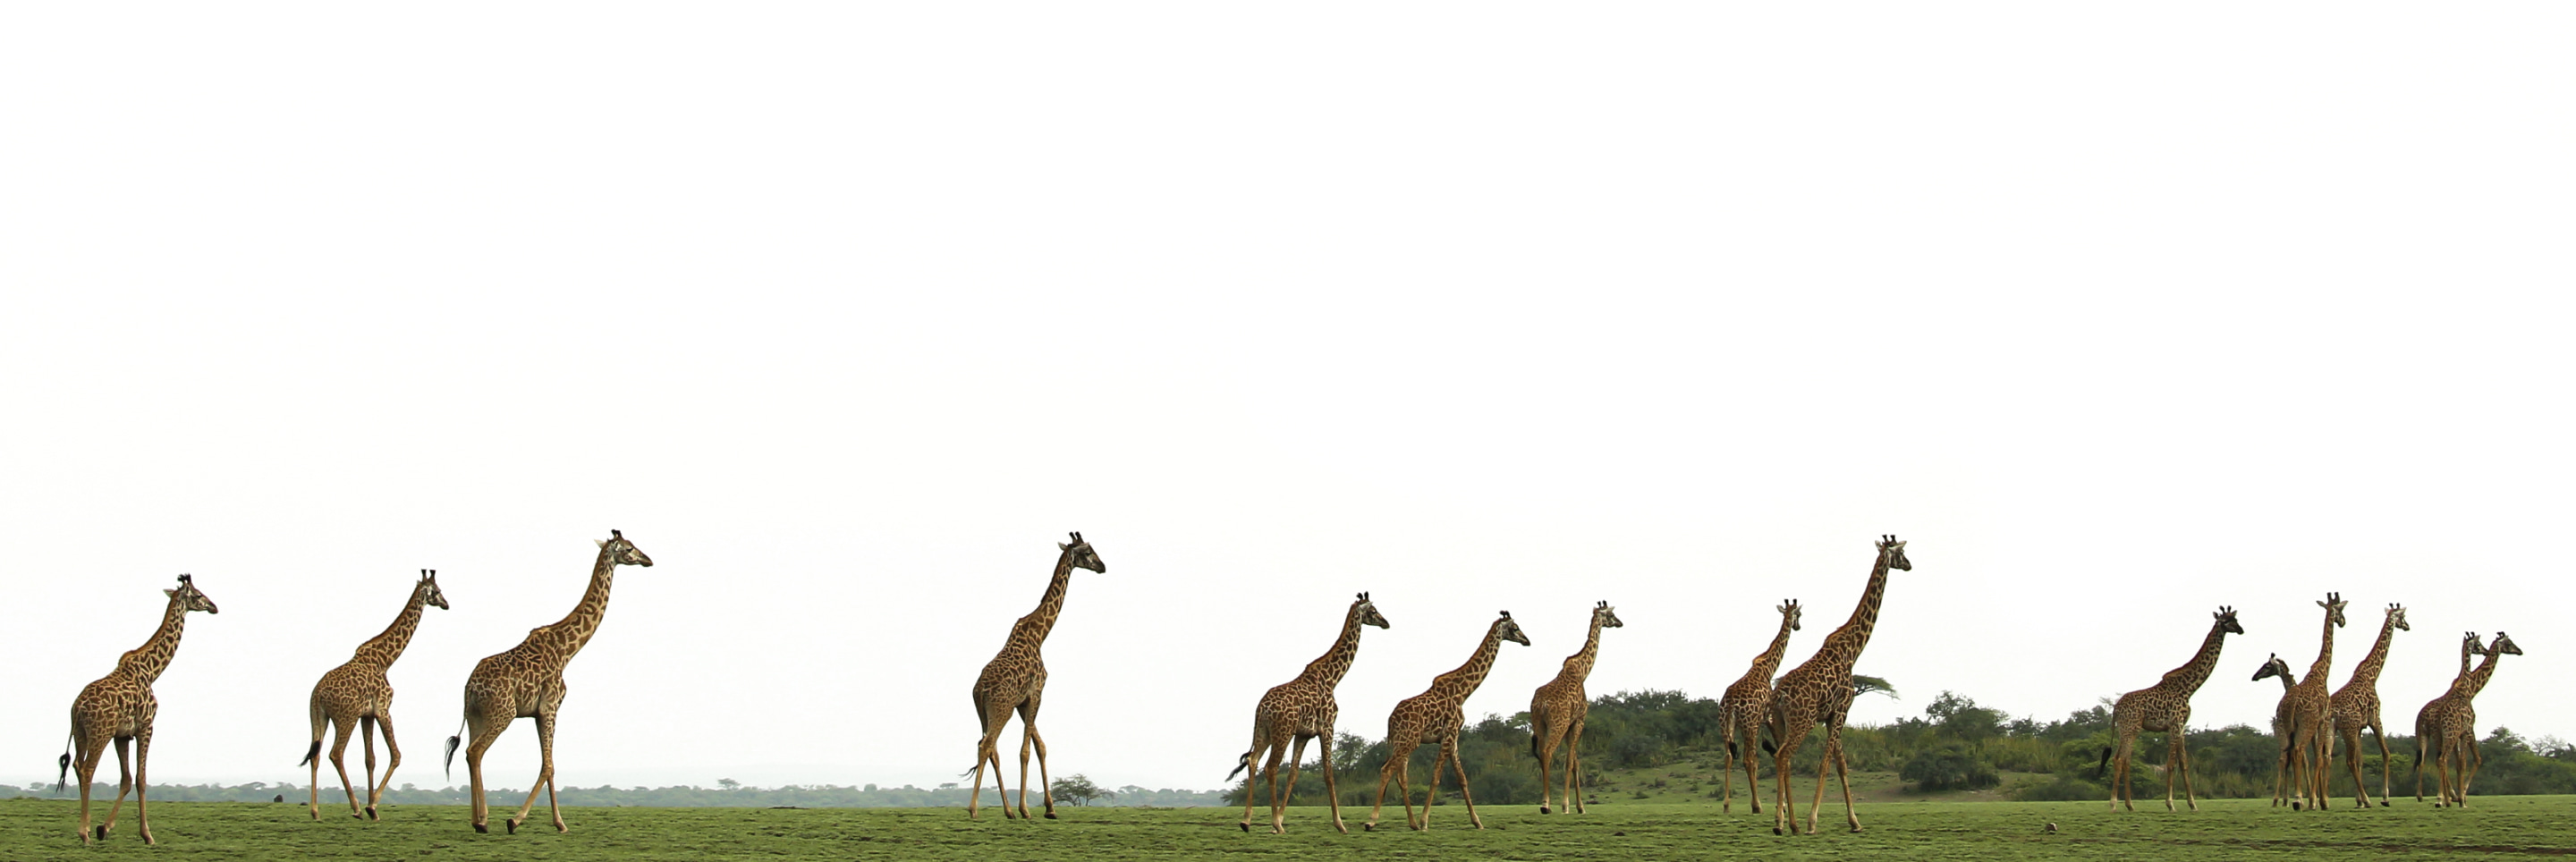
A common mistake is to centre the subject with equal space on each side; it will look lost. Furthermore, it draws attention away from the subject and toward the surrounding dead space.
This is a widely used composition technique. The basic premise is to separate the image into thirds, both horizontally and vertically, and to place the subject on the four intersecting lines. It’s a technique that works well for landscapes as you can position the horizon on one of the horizontal lines in the lower or upper part of the photograph. At the same time, your vertical subjects (trees, animals, rocks) can be placed on one of the two vertical lines. Any modern camera and many phones have a visual grid that you can set on your screen to assist you in framing as you photograph.
Bad cropping leaves your subject looking unattractive. Often, we encounter a situation where the animal is partially hidden behind foliage, making the lower part of the body invisible. Even when you do not see the legs, leave space where the legs would be to ensure you have enough room at the bottom to let the viewer sense the location of the feet.
Another common mistake is to frame an animal tightly. Do not do this! It suffocates or cramps the animal. Ideally, you should leave more space in the direction the subject is looking or moving towards. In so doing, you let the viewer imagine the subject’s action or behaviour and it allows for a connection with the subject.
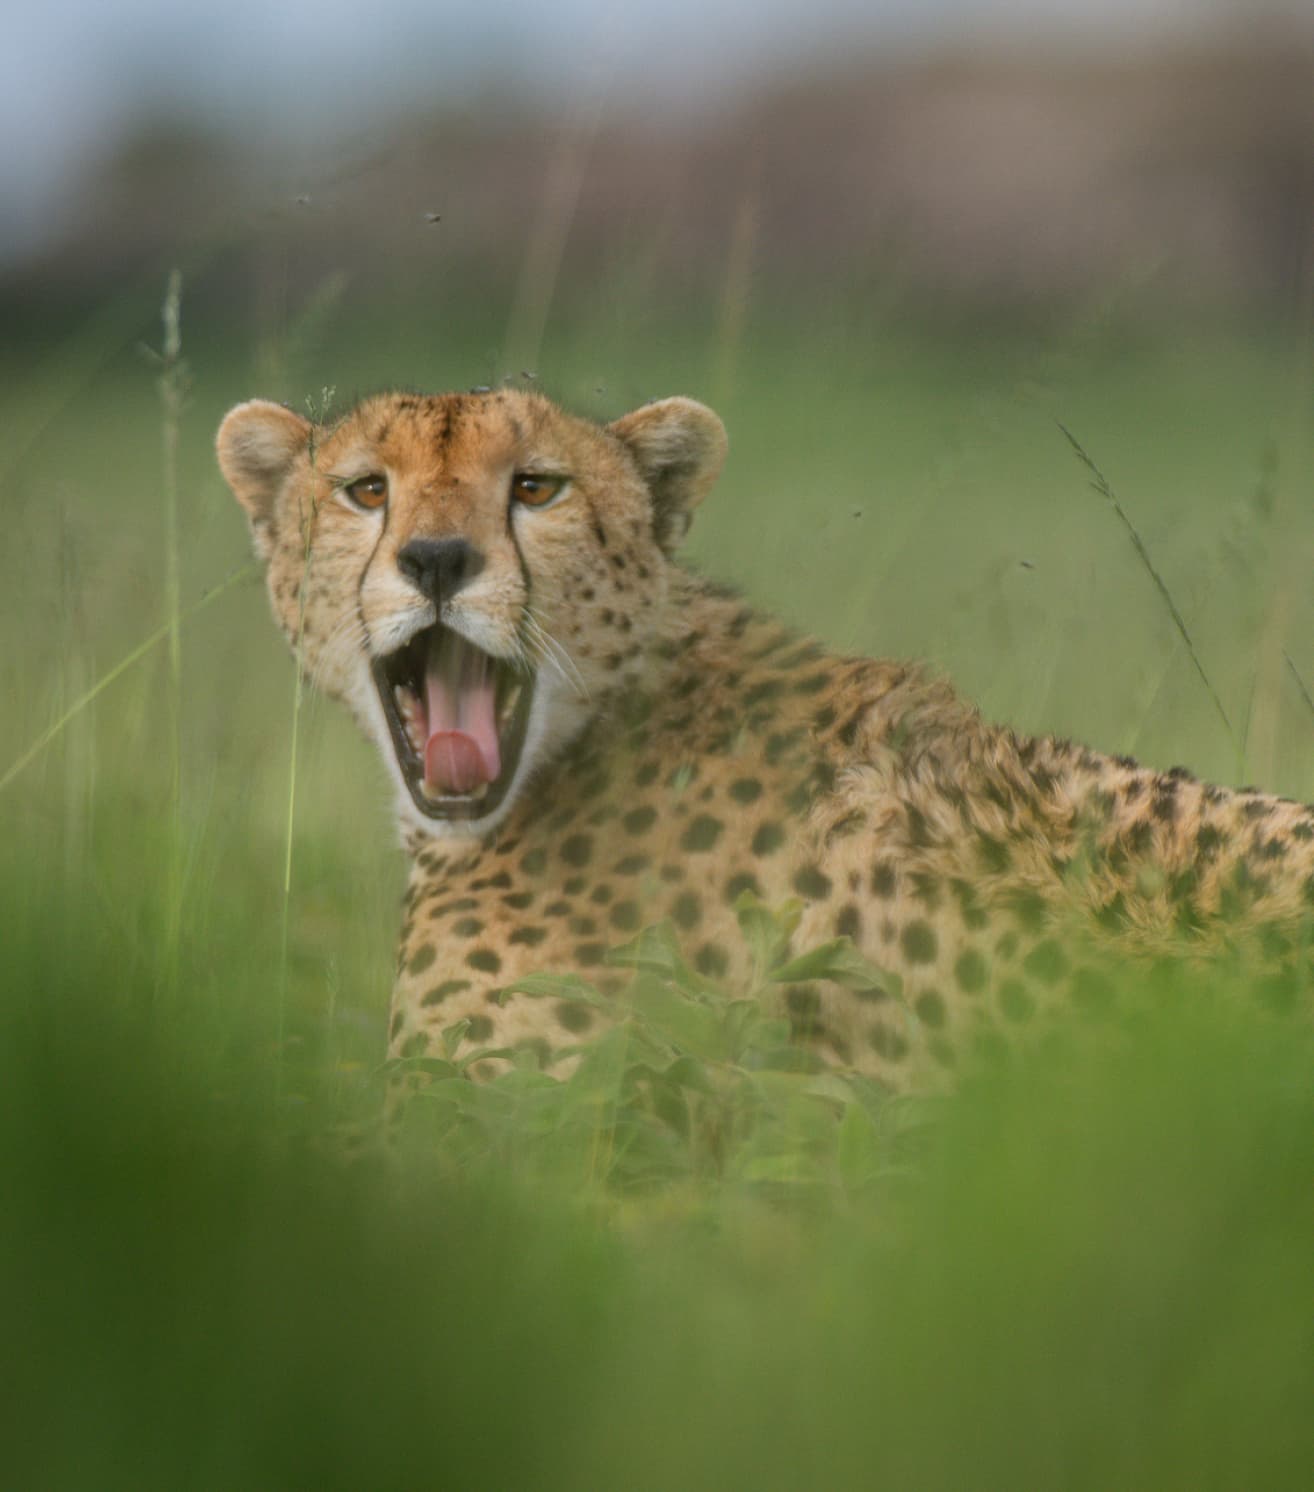
After reading the last tip, this may seem contradictory. Tight compositions are well-suited for shooting wildlife behaviour, especially portraits. They allow the viewer to get an intimate look at the subject and add a human touch. But they work only if the subject is very sharp and the focus point is on the eye of the subject.
A distracting background can make your subject feel lost in the context of the whole frame. Unsightly objects, overexposed or exceptionally bright areas and spots of bright colours will pull the eye off your subject. Try to find a background that is uncluttered or composed of a single colour or shade that is not lighter than your subject.
When shooting wildlife, the subject is often low on the ground or high up in a tree or the sky. Although it is much easier to point your camera down or up than to shoot at eye level, this creates many problems. Often, our images show the backs or bellies of animals. So instead, try photographing an animal at eye level and having your subject look directly into the camera or from an angle slightly higher than you. Lying on the ground or the vehicle floor will achieve that. In addition, it will help your viewer connect to the subject.
Having foreground and background detail will add depth to your image and draw the eye through the picture. You can also use that to create a story. For example, animals looking at one another back to front.
When shooting images in which the horizon is visible, it’s essential to keep it horizontal. A tilted horizon will ruin your photo.
This is crucial. Do not get lost in composition alone. All of the wildlife photography tips discussed here are useless if the main subject in your image does not make eye contact. Good eye contact in the picture makes a lot of other issues disappear. Keep the subject’s eye as the focus point and wait until the animal looks at you.
Always photograph with the highest resolution your phone/camera will allow. If you didn’t have time to compose your shot perfectly, you could crop your image into a better composition later, but to do this you need a high-resolution image.
In conclusion, wildlife photography on safari is an exciting experience that requires patience, skill and attention to detail. The key is that you find the best light for your subject and that you have the patience to wait for the right moment and conditions. Follow these simple tips and have fun! We would love to see your photographs, so please tag us in your posts!